25 October 2010

Pita Pear Pizzas

If we're lucky, we'll still have some delicious pears for a few more weeks. Pears, like grapes, do best in wine country climates like the Pacific Northwest (or the Western Slope in Colorado), where the combination of hot-cold and wet-dry work together to create supple sweet luscious fruits. Beyond being eaten plain--like an apple--pears work well in hearty salads, warmed as a compote, or baked and softened as a side or dessert.


Or, in our case, on a pita bread pizza! When my friend Cha-Cha and I get together it usually means business. But as two busy girls on the go, we were both exhausted from our respective workdays and wanted something healthy and filling to mow down on as we sunk into the couch to become zombies in the warm glow of the television. Cue the pizza idea--and one that works well with kids or adults alike because of the versatility. When making a mini-pizza you can make it anything you want. I of course, had to make ours a little fancy...just like us.

Pear Pita Pizzas
--2 round whole wheat pitas
--2 TBSP tomato paste
--1/4 cup grated cheese (mozzarella or a pizza/Italian blend)
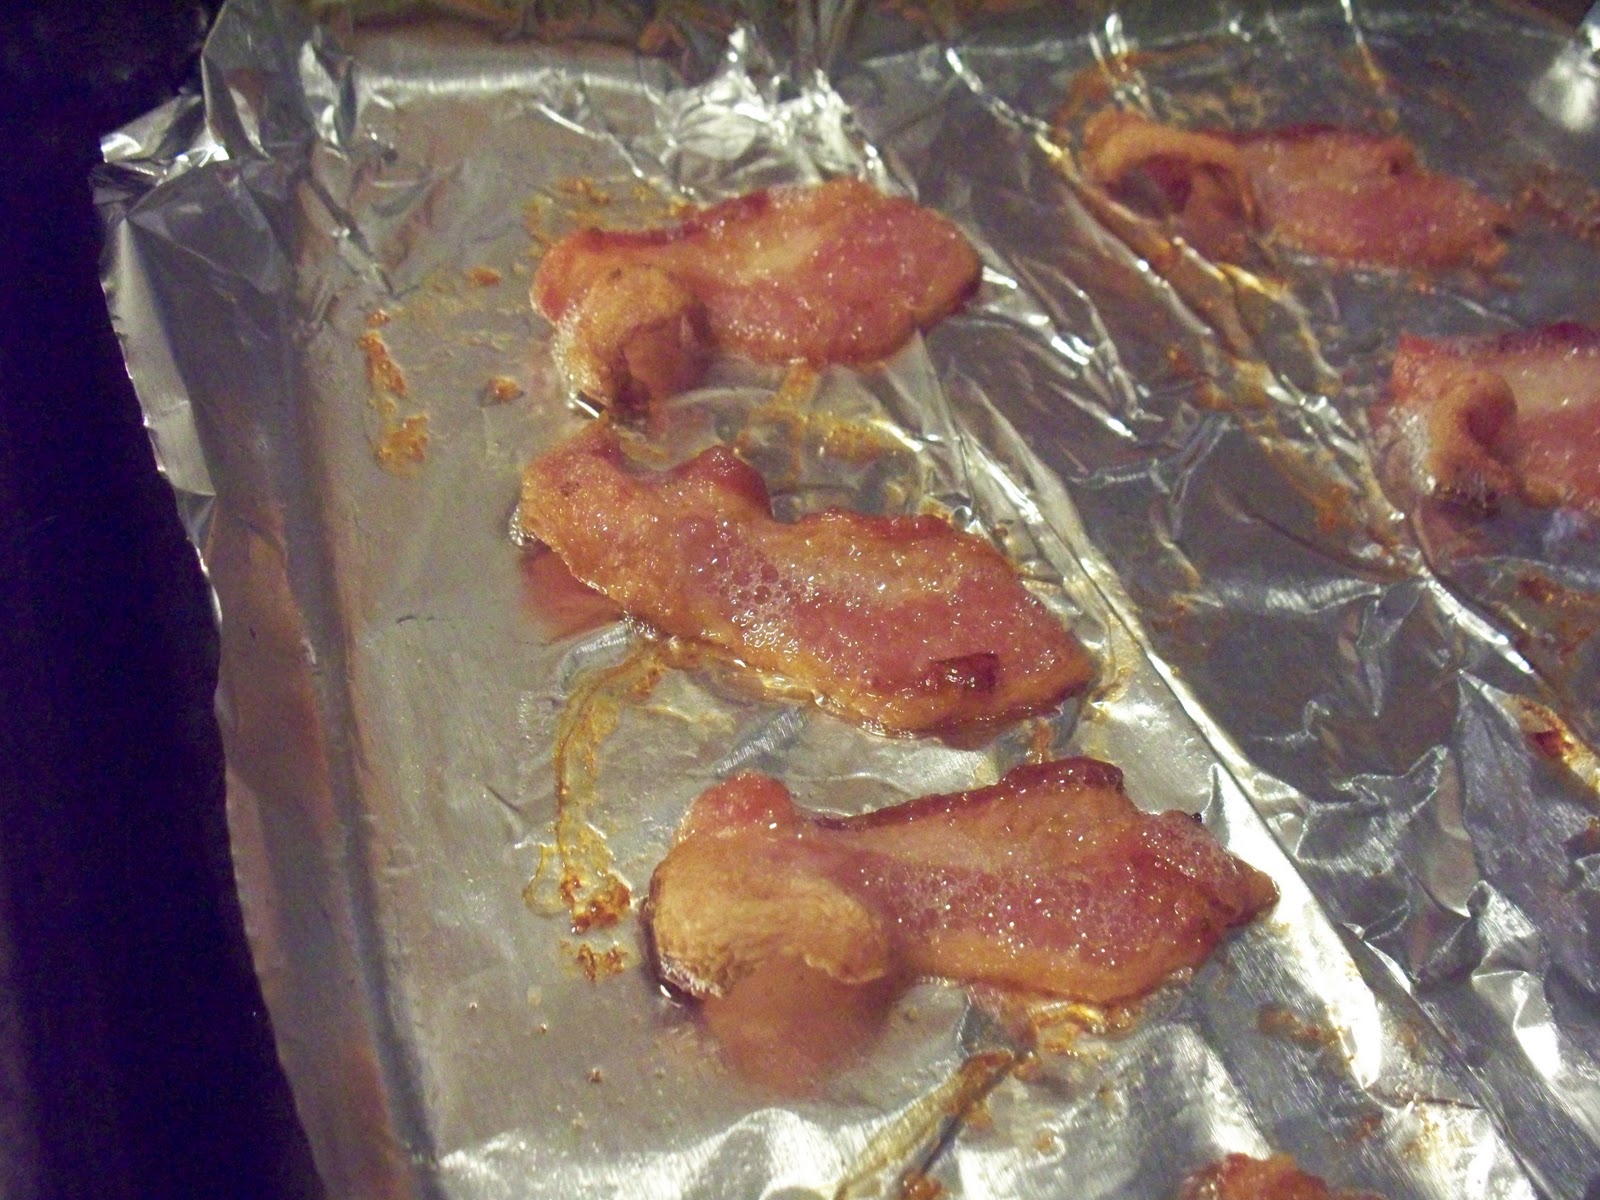
--2 pieces of bacon
--sliced mushrooms
--1 pear, sliced or chopped into chunks
--fresh spinach leaves
--crushed red pepper
--2 TBSP feta crumbles
--balsamic vinegar
--olive oil
--black pepper


Place the pitas on a cookie sheet. Use a spoon to coat the top of each pita with the tomato paste. Feel free to season with oregano, pepper, or whatever your heart desires. Sprinkle with some of the grated cheese, but leave enough to put a little more on top.

Chop the bacon into smaller bits and fry over medium heat (I use scissors to easily chop mine) to desired crispy-ness. Drain on paper towels and place on the pizza.
Add the sliced mushrooms and pear pieces, evenly distributing the ingredients both around the pizza and between the two pizzas. Top with some spinach, the remainder of the cheese, the feta crumbles, and a few healthy dashes of crushed red pepper flakes. Drizzle with olive oil and balsamic vinegar (just a little as it goes a long way) and a few cranks of fresh black pepper.
Heat in the oven at 300 degrees for 10 minutes or until shredded cheese is melted and pizza and ingredients are warm throughout.

Dammit Jim, I'm a cook, not a doctor...
Time: 20 minutes
Serves: 2 pizzas
Calories: 477 per pizza

19 October 2010

Simple Treat From The Mid-East

I feel a bit brain dead sometimes and need easy, tasty food that serves many purposes and isn't total garbage. Oh so many times how I've succumbed to the "grab n' go" and ended up later with a tummy ache or belly swollen with too much salt or grease. Last weekend I had some veggies to use up and wanted something fast and light but satisfying. So I made fattoush. How to make Fattoush? Well, according to Wikipedia, "To make fattoush, cooks use seasonal produce, mixing different vegetables and herbs according to taste...The vegetables are cut into relatively large pieces..."

Sounds easy enough.

Perhaps you don't eat a lot of Middle-Eastern cuisine and you aren't familiar with fattoush? It's a vegetable-based salad (sans lettuce) that tastes great over couscous (as pictured above) or inside a pita. It's vegetarian, vegan, dairy, and gluten-free (and probably a whole lot of other things too...). After eating some for my lunch, I took the rest of my fattoush to a Sunday afternoon gathering of ladies, each of whom scooped some up with a pita chip as a nice snack.

Fattoush
--1 large cucumber
--1 large heirloom or beefsteak tomato (or 2 romas)
--1 bell pepper
--fresh parsley, cilantro, or mint (I used cilantro)
--TBSP olive oil
--TBSP lemon juice
--dash of salt and pepper


Truthfully, it's just as easy to make as Wikipedia makes it out to be. First you wash and chop up the cucumber and put it in a decent-sized mixing bowl.
Then you remove the seeds from the pepper, chop it up, and add it to the bowl.
Then rinse and repeat with the tomato, chopping it up and adding it to the bowl.
Mince the fresh herbs and add them to the mix. Pour on the olive oil and lemon juice and stir like crazy to mix the whole thing up. Season with a dash of salt and some freshly cracked black pepper to taste. Enjoy!
Dammit Jim, I'm a cook, not a doctor...
Time: 10 minutes
Serves:1 salad
Calories: Under 300 for the whole thing

14 October 2010

Stuffed Peaches Won't Disappoint

Here's another recipe that came out of my Palisade peach adventure. But this one has a much larger story than just, "Hey, I have some peaches. Cool..."

Eat Denver is an organization of independent restaurateurs in the Denver area. This group takes the idea of being a localvore to a different level--eating local can be about supporting your neighborhood restaurant too. The organization does a few events throughout the year, including something called Harvest Week. During Harvest Week, these chefs create dishes using only locally sourced products. Sort of a think local, eat local, act local, kind of triple threat. One of the dishes that I had the pleasure of eating was at one of my favorite restaurants--Rioja.

Chef Jennifer Jaskinski (Chef Jen to her employees) doesn't need me to sing her praises. Her food has been written up in the likes of GQ, Bon Appetit, and Food & Wine, just to name a few. But that won't stop me from signing her praises. No. Because during Eat Denver's Harvest Week I ate something at Rioja that was so rich, so delicious, so beautiful, that I almost cried. Okay, maybe that's a little dramatic, but damn, was that sucker good. Chef Jen served a grilled peach stuffed with honey scented goat cheese and crispy pork belly, topped with micro-basil. It was absolutely as good as it sounds.

And so, now that I've had a taste, I just can't get enough. But, since Harvest Week only happens one week out of the year, I've had to recreate my own little piece of heaven. Thanks Chef Jen for the blissfully sweet idea! I made these as an hors d'oeuvre for a party, so adjust the recipe depending upon how many hungry faces you need to feed...
Rioja Inspired Stuffed Peaches
--peaches, sliced in half and pitted
--plain goat cheese/chevre
--honey
--balsamic vinegar
--bacon strips, cut in half
--micro greens or broccoli sprouts


After removing the pits from the peach halves, use a spoon to scoop out a small concave bowl in the center of each peach half. Using a new clean spoon, fill each peach bowl with a spoon-full of goat cheese. I made one 4oz. log last for 15 peach halves, so remember that a little goat cheese goes a long way! Place the filled peaches into a baking dish. Drizzle each peach half with a light line of honey and balsamic vinegar.
Place the bacon strips on a foil-lined cookie sheet in the oven. Bake at 375 degrees until the bacon is crisp and evenly cooked. The foil will make it easier to pull off the pan. Cooking it in the oven helps keep the bacon from curling up and also allows the fat to drain away.
Bake the peaches in the oven at 375 degrees for 8 minutes. Remove and top each peach with the crispy bacon. Place back into the oven for a few more minutes, until the peaches are softened *but not soggy* and the goat cheese is warmed.
Remove to a plate. Top with the micro greens and serve!
Dammit Jim, I'm a cook, not a doctor...
Time: 20 minutes
Serving: 2 peach halves
Calories: 304

11 October 2010

Party With Some Peaches

"Palisade is the peach capital of Colorado," tells the Palisade Chamber of Commerce website. But beyond peaches, you can also find apricots, okra, plums, honey, and wine. Oh yes. Palisade is the promised land for lovers of fresh fruits, vegetables, and winos alike. So, to pay homage to the Presidents of the United States of America (the band, not the men), I went to the country and ate a lot of peaches. And then...I brought back a whole case of peaches to cook with.

I took a third of these and froze them--so you can expect some delicious peach pie or cobbler recipes later in the season when you're craving that fresh-tasting fleshy goodness. But what to do with the rest? I declare this week is peach week here at Bacon & Other Bad Habits. So, Viola!, here is one of the recipes that I cooked up as a result of my peach adventure.

This pork chop with peach and sage compote might seem like one of the simplest recipes. And it certainly isn't complicated. But don't confuse a simple preparation with a lack of flavor. The sweetness of the peaches combines with the fresh sage to compliment the pork without overwhelming it. In short, this recipe is easy and really f-ing tasty; a powerful combination don't you think?
Pork Chops With Peach & Sage Compote
--4 boneless pork chops
--olive oil cooking spray
--garlic salt
--black pepper
--4 fresh peaches, pitted and chopped (I leave the skins on mine but if the texture freaks you out, remove the skin)
--fresh sage leaves, ripped into chunks


Rinse the pork loin chops and pat dry. Cut away any additional fat or skin. Crack black pepper onto one side of the chop. Follow up with a dusting of garlic salt. Using your fingers, press the spices into the pork. Flip the chops over and repeat.
Heat a cooking-spray-coated skillet over medium-high heat. Sear the pork chops on both sides to lock in the juices. Turn the heat down to medium and cook the chops for 5-ish minutes on each side. Remove from the heat to rest.
Add the chopped peaches to the same pan. You won't need to add any cooking oil or spray, just let the peaches cook/simmer in their own sweet juices. Add the ripped sage leaves and cook, stirring often, until the peaches are softened and warmed and the sage begins to get crispy on the edges. Add the pork back into pan and cook until the pork is heated through. It should be a pale pinkish white when you cut through the thickest/middle part of the chop.

Serve these guys alone or over a serving of rice.
Dammit Jim, I'm a cook, not a doctor...
Time: 20 minutes
Serves: 4
Calories: 274 calories (recipe above, does not include addition of rice)

09 October 2010

Be Nice To Bacon!

Christien Meindertsma: How pig parts make the world turn

08 October 2010

Good Risotto Gone Bad

We've all been there. You read a recipe and think, "Wow, that sounds delicious!" only to end up with a bland or boring concoction that you just wasted 30+ minutes of your life on. It happens to everyone, regardless of culinary savvy. Sometimes it's the fault of the recipe, sometimes the cook, and sometimes external forces of differing cooktops or oven temperatures; altitude; humidity.

Life in a kitchen is an adventure and the recipe listed below is not exactly what I made. The recipe below is what I wish I had made instead. When my friend, Jess, found the recipe and sent it to me, we were both excited by how low the calorie count was for how rich the recipe sounded. Hell, I even ate dairy because I thought it would be worth it. And to be clear, it wasn't awful. It just wasn't the amazing meal we had both envisioned and salivated for.

The recipe below has a few tweaks and changes made that *in theory* should help to boost the flavor quotient for this recipe, while still keeping it healthy and in line with the nutritional content of the original recipe that inspired it...

Vegetarian Cheesy Risotto

--4 cups of vegetable broth or stock
--Asparagus, ends trimmed and cut into 1-inch pieces
--2 TBSP olive oil
--1 small sweet onion, chopped
--garlic, minced
--1 small red bell pepper, sliced into long thin strips
--1 cup Arborio rice
--1 TBSP butter
--8oz. package of sliced crimini or baby portabella mushrooms
--4 ounces Boursin light herbed cheese spread


In a medium-sized saucepan, bring the vegetable broth/stock to rolling boil. Add the asparagus pieces and blanch for two-ish minutes. You will want the asparagus to be crisp but tender (springy if you squeeze a piece). Turn off the burner. Using a slotted spoon, remove the asparagus from the broth, leaving the broth in the saucepan--you will use this to make the risotto.


While the broth is working toward boiling, cook onion and garlic in the olive oil in a large saucepan on medium heat until translucent. Add sliced bell pepper and cook until all veggies are tender. Add the rice and cook two-ish minutes--stirring often--until rice is lightly browned.

Add one cup of the broth to the rice and veggies mixture. Stir often until the broth is absorbed. Continue to add broth, in batches, until the rice is fully plumped! You'll know that you're done adding liquid when the rice has expanded, has a creamy texture, and is no longer crunchy when bitten into. (Taste early, taste often!)


While the rice is plumping, saute the mushrooms in the butter. There are about the same number of calories in one tablespoon of butter (110 or so) as there are in one tablespoon of olive oil (120 or so). The difference between these two oils is the fat. For the purpose of our mushrooms, we want the flavor of the butter to enrich the rest of our dish!


When the rice is cooked, stir in the cheese and asparagus. Mix until cheese is melted. Add the mushrooms and mix it all up. Crack in some black pepper. I hope it's delicious!

Dammit Jim, I'm a cook, not a doctor...
Time: 45 minutes
Serves: 4
Calories: 276 per serving