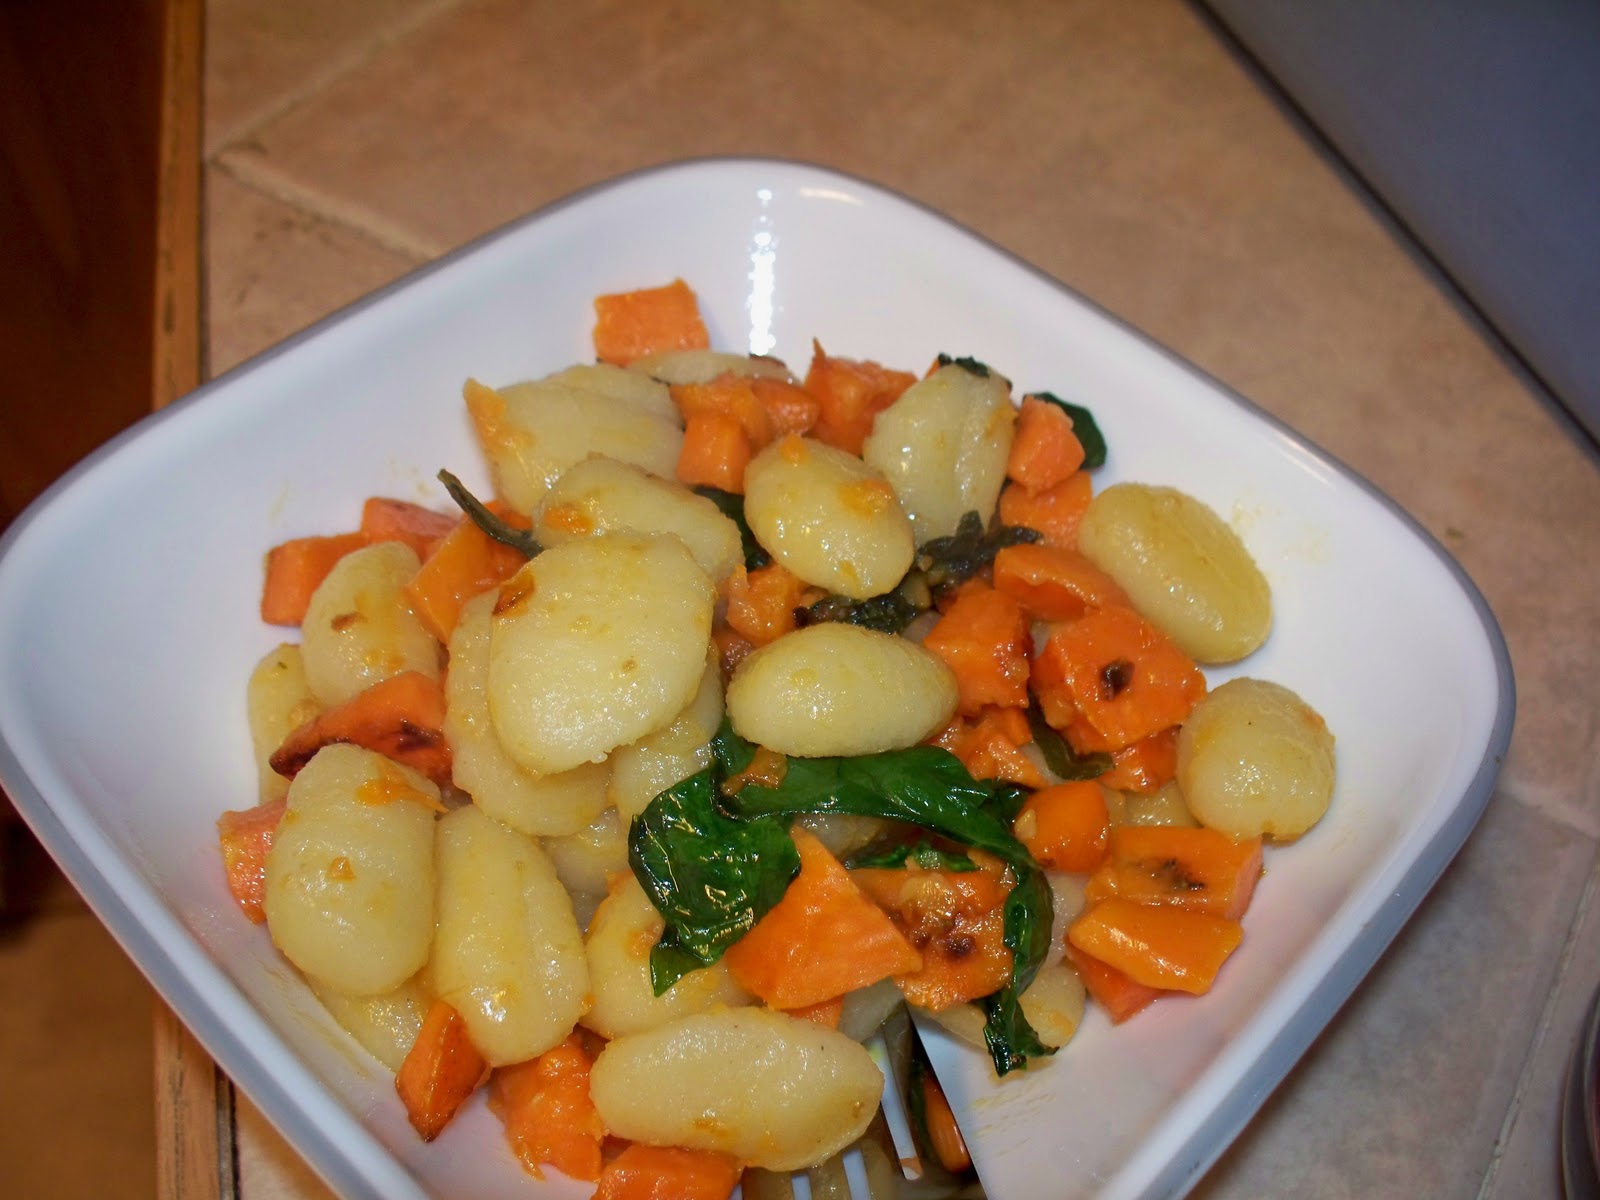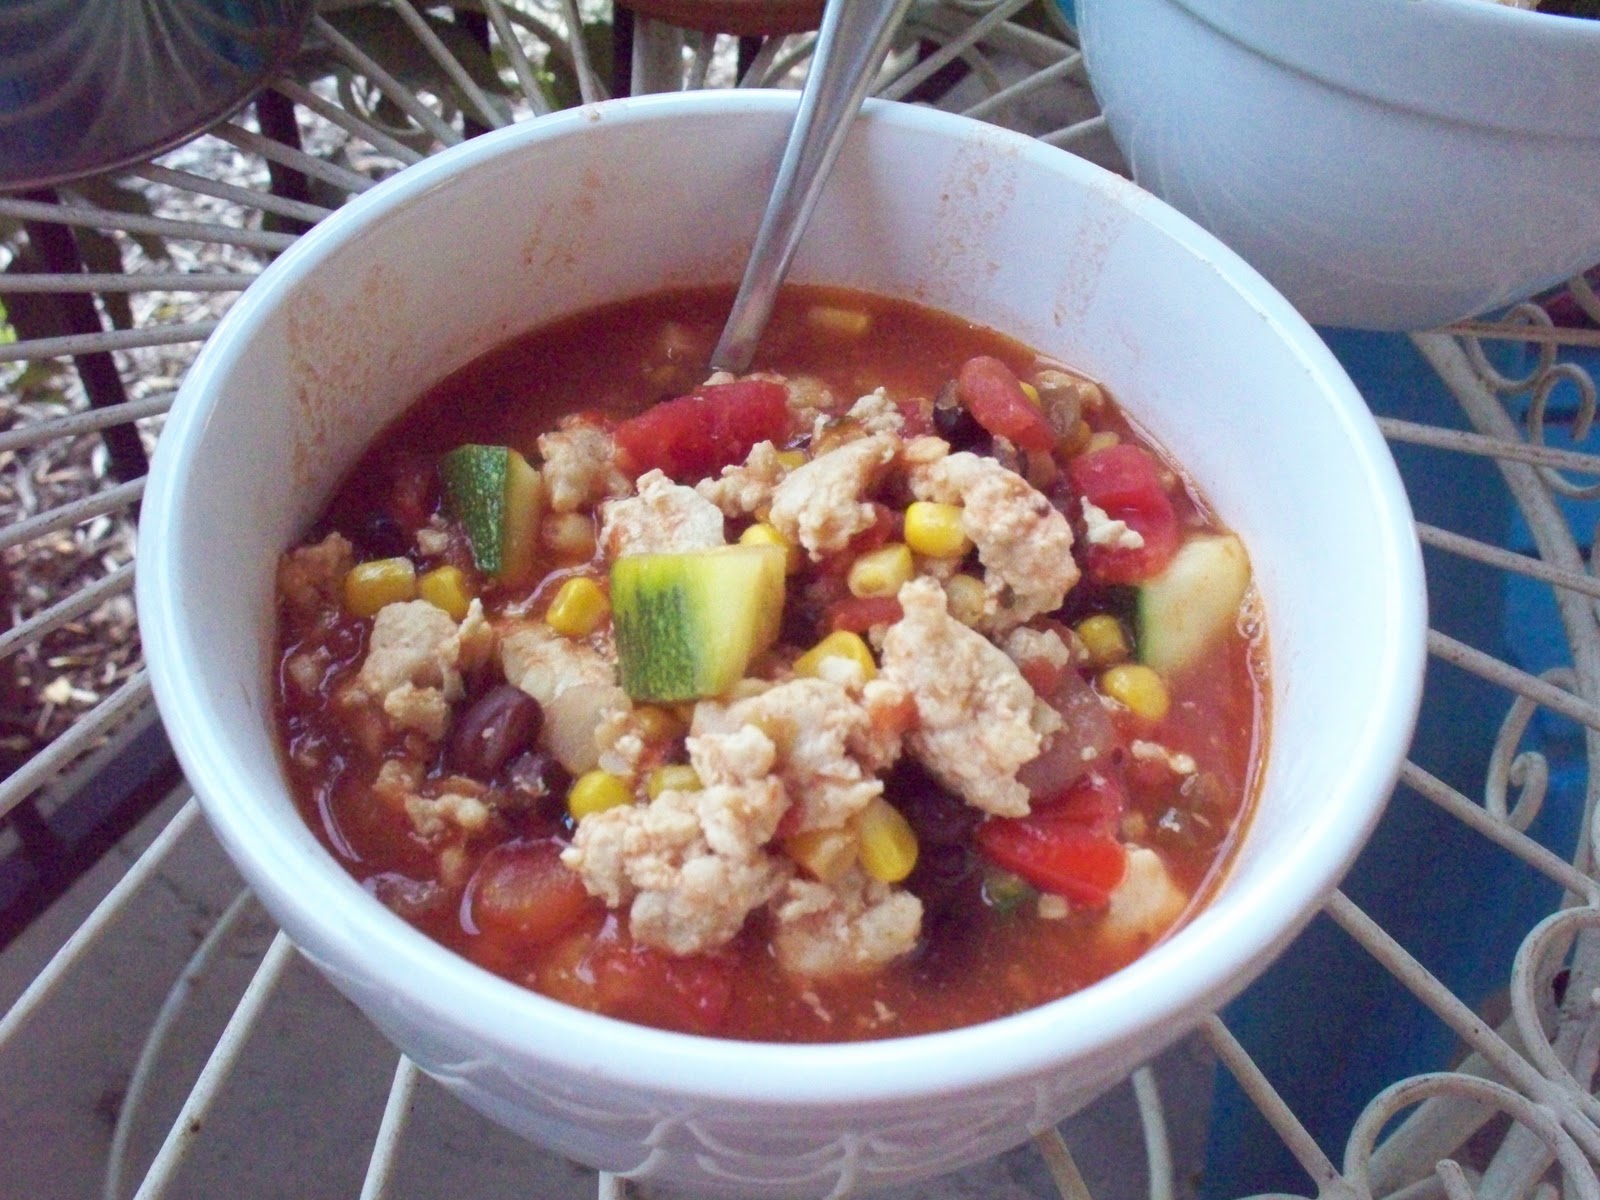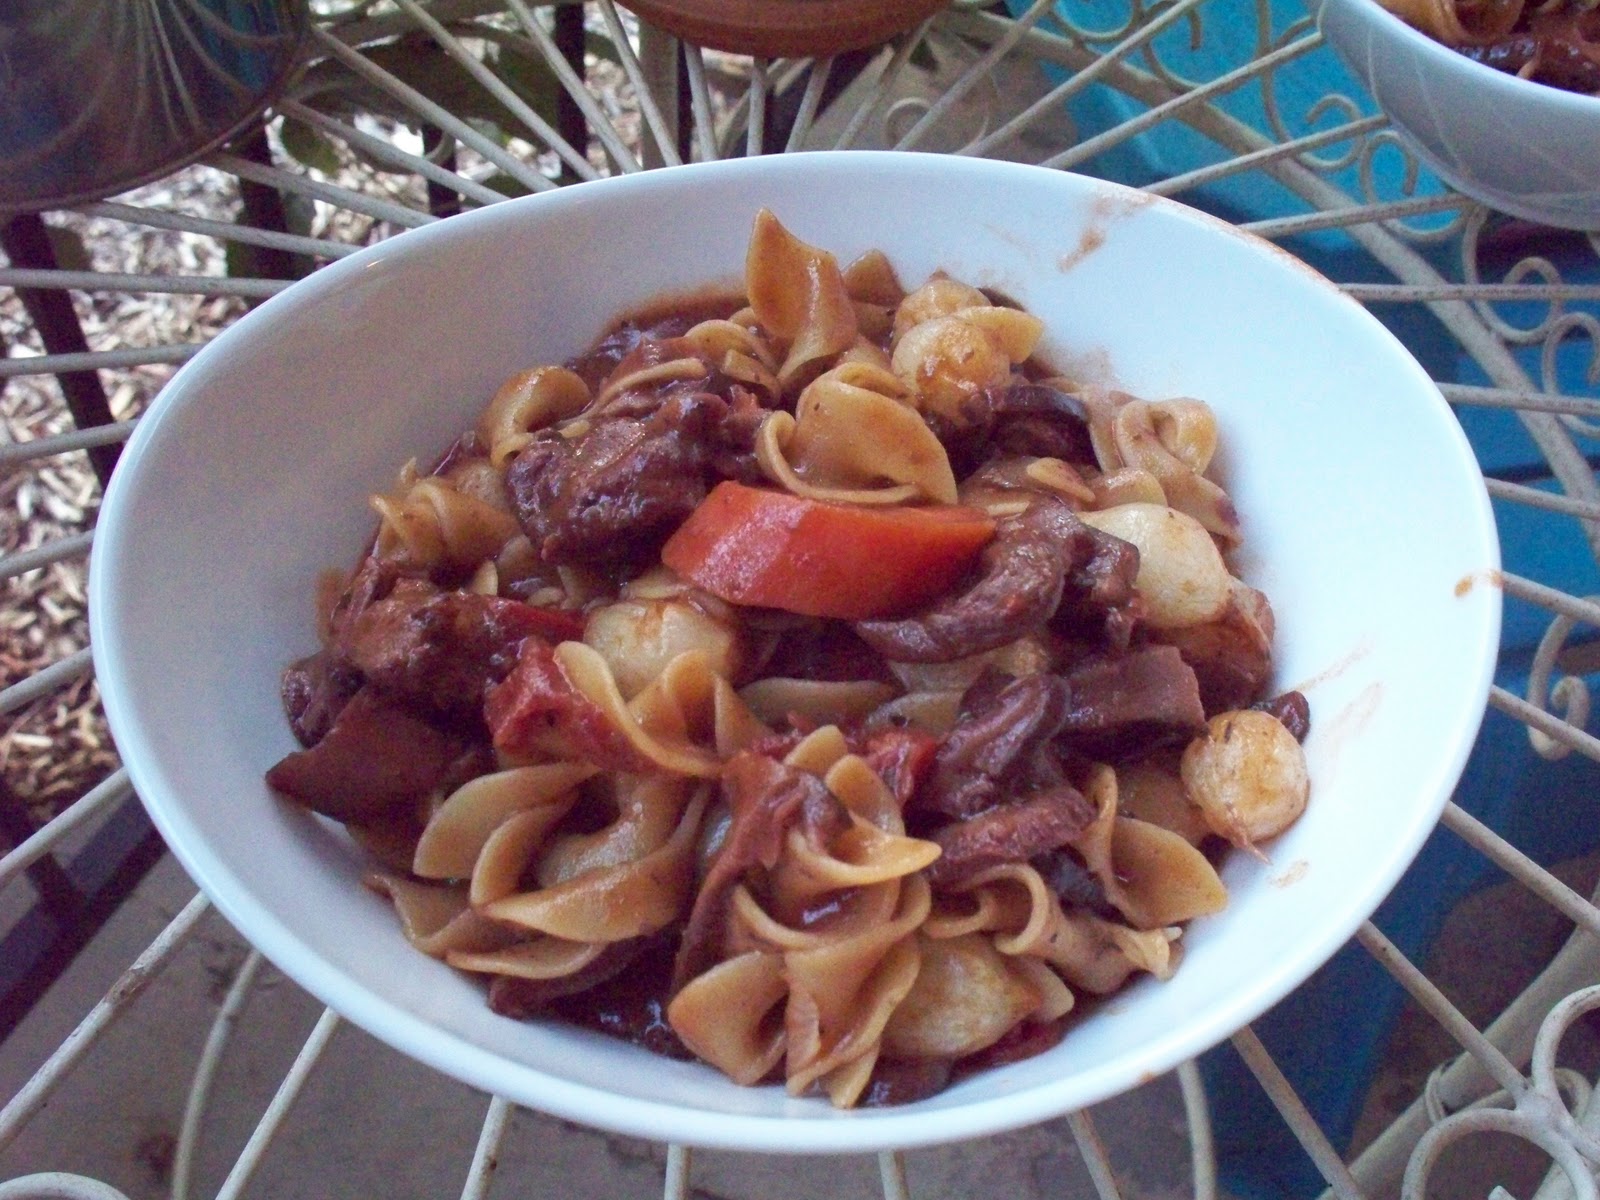
For many, southern side dishes automatically conjure up something starchy. After all, it ain't a meal south of the Mason-Dixon without biscuits, or rolls, or cornbread, with potatoes both sweet and mashed, or cheese straws, or dressing (what we call stuffing that never saw the inside of a turkey), or macaroni and cheese, or even grits. But we like to "go green" too. We like our beans green, unless they're black eyed peas, and our spinach creamed. But greens--collards or turnips--are a true southern meal staple and will make an appearance at many a Christmas dinner.
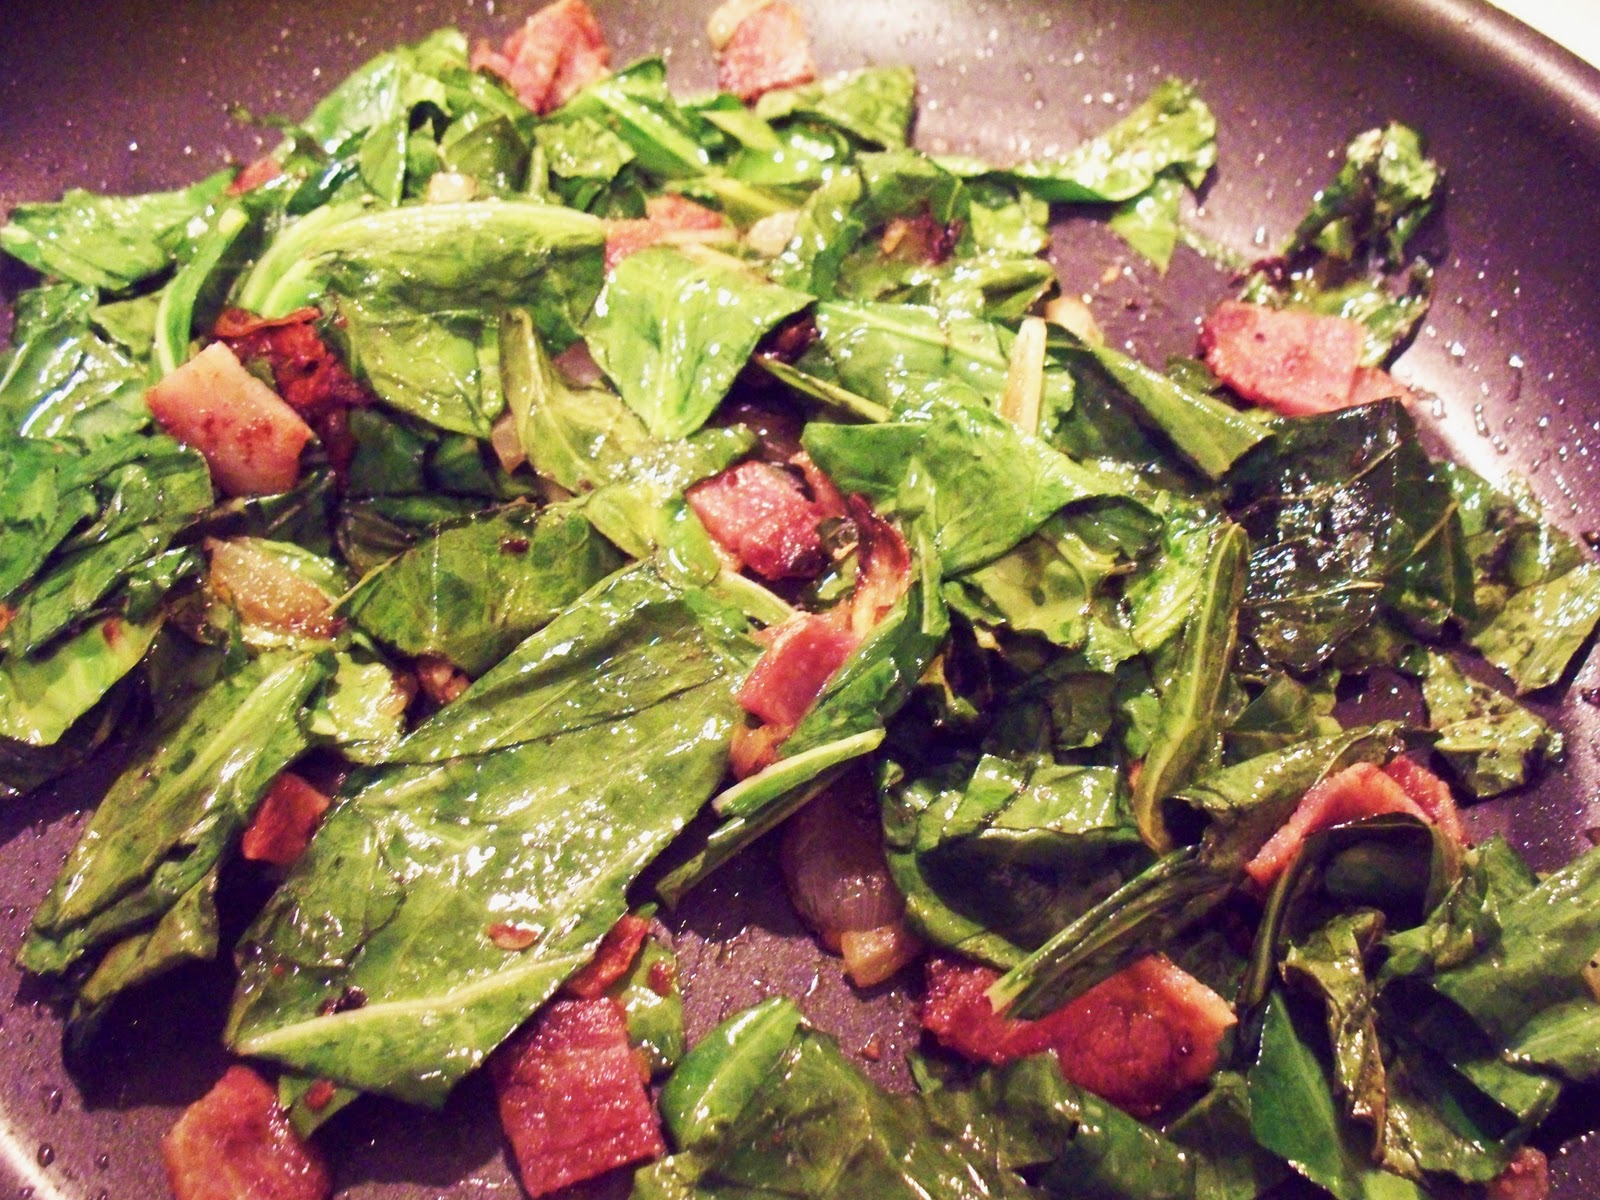
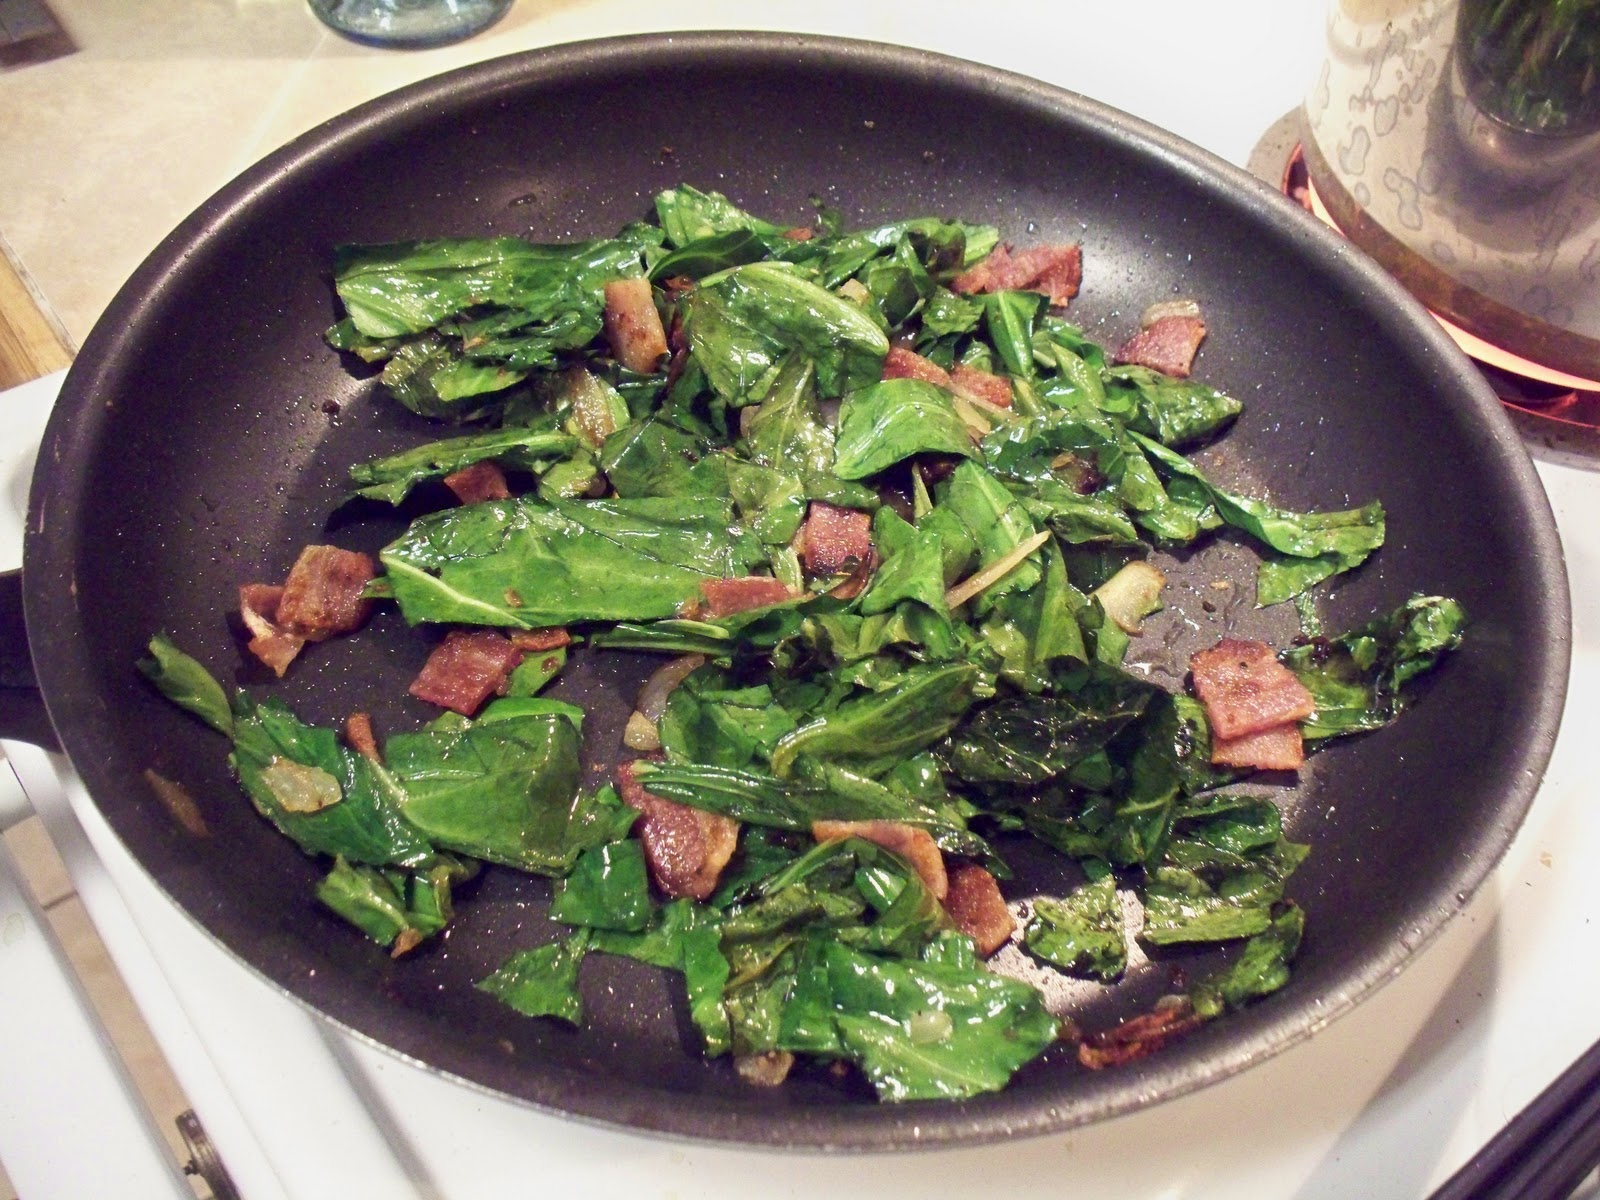
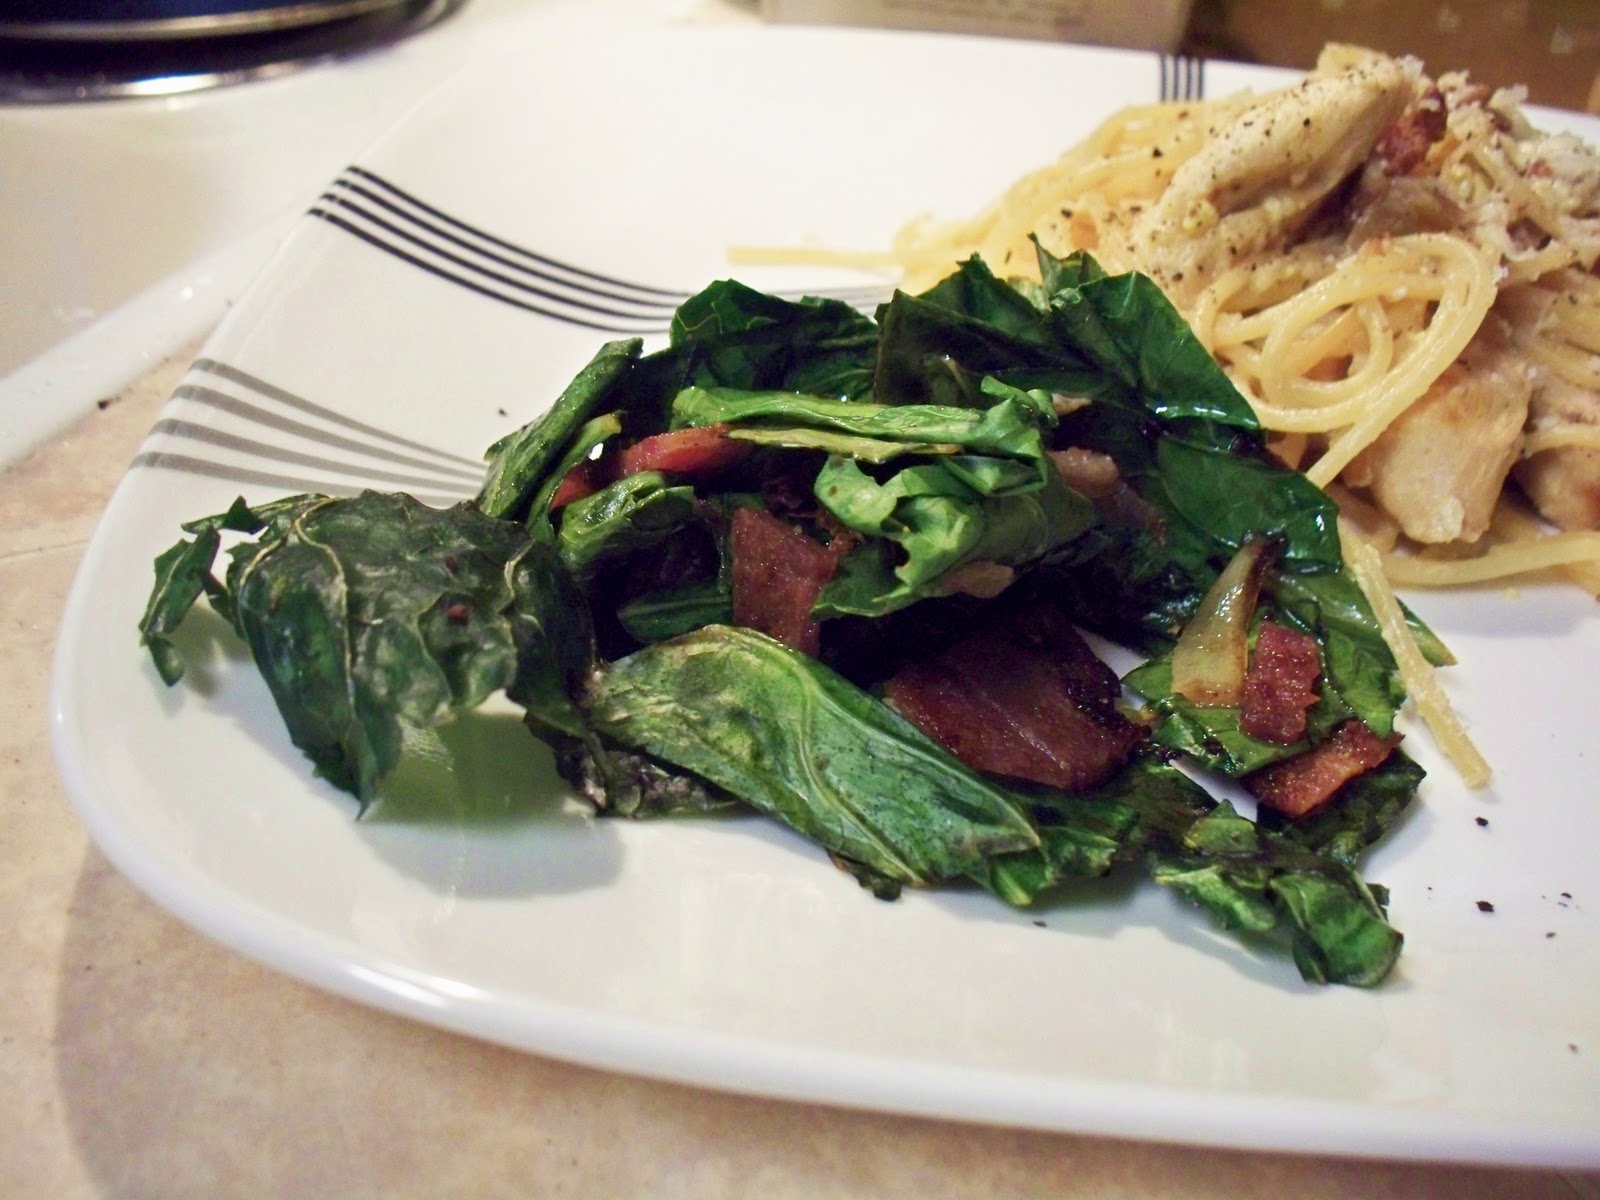
Collards and turnips greens have great nutritional value, and like any vegetable that comes in a dark, rich, emerald hue, greens are chock full of vitamins and antioxidants. But in the south, everything tastes better with bacon or fat back, and traditional greens are prepared in such a manner. Greens are often boiled for hours upon hours and seasoned with bacon, fat back, vinegar, or sugar. Here's a little bit lighter way to enjoy your greens that is a little bit nice [healthier] and a little bit naughty [bacon!].
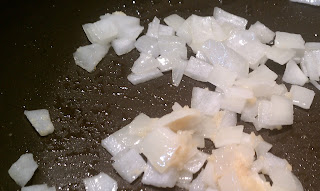
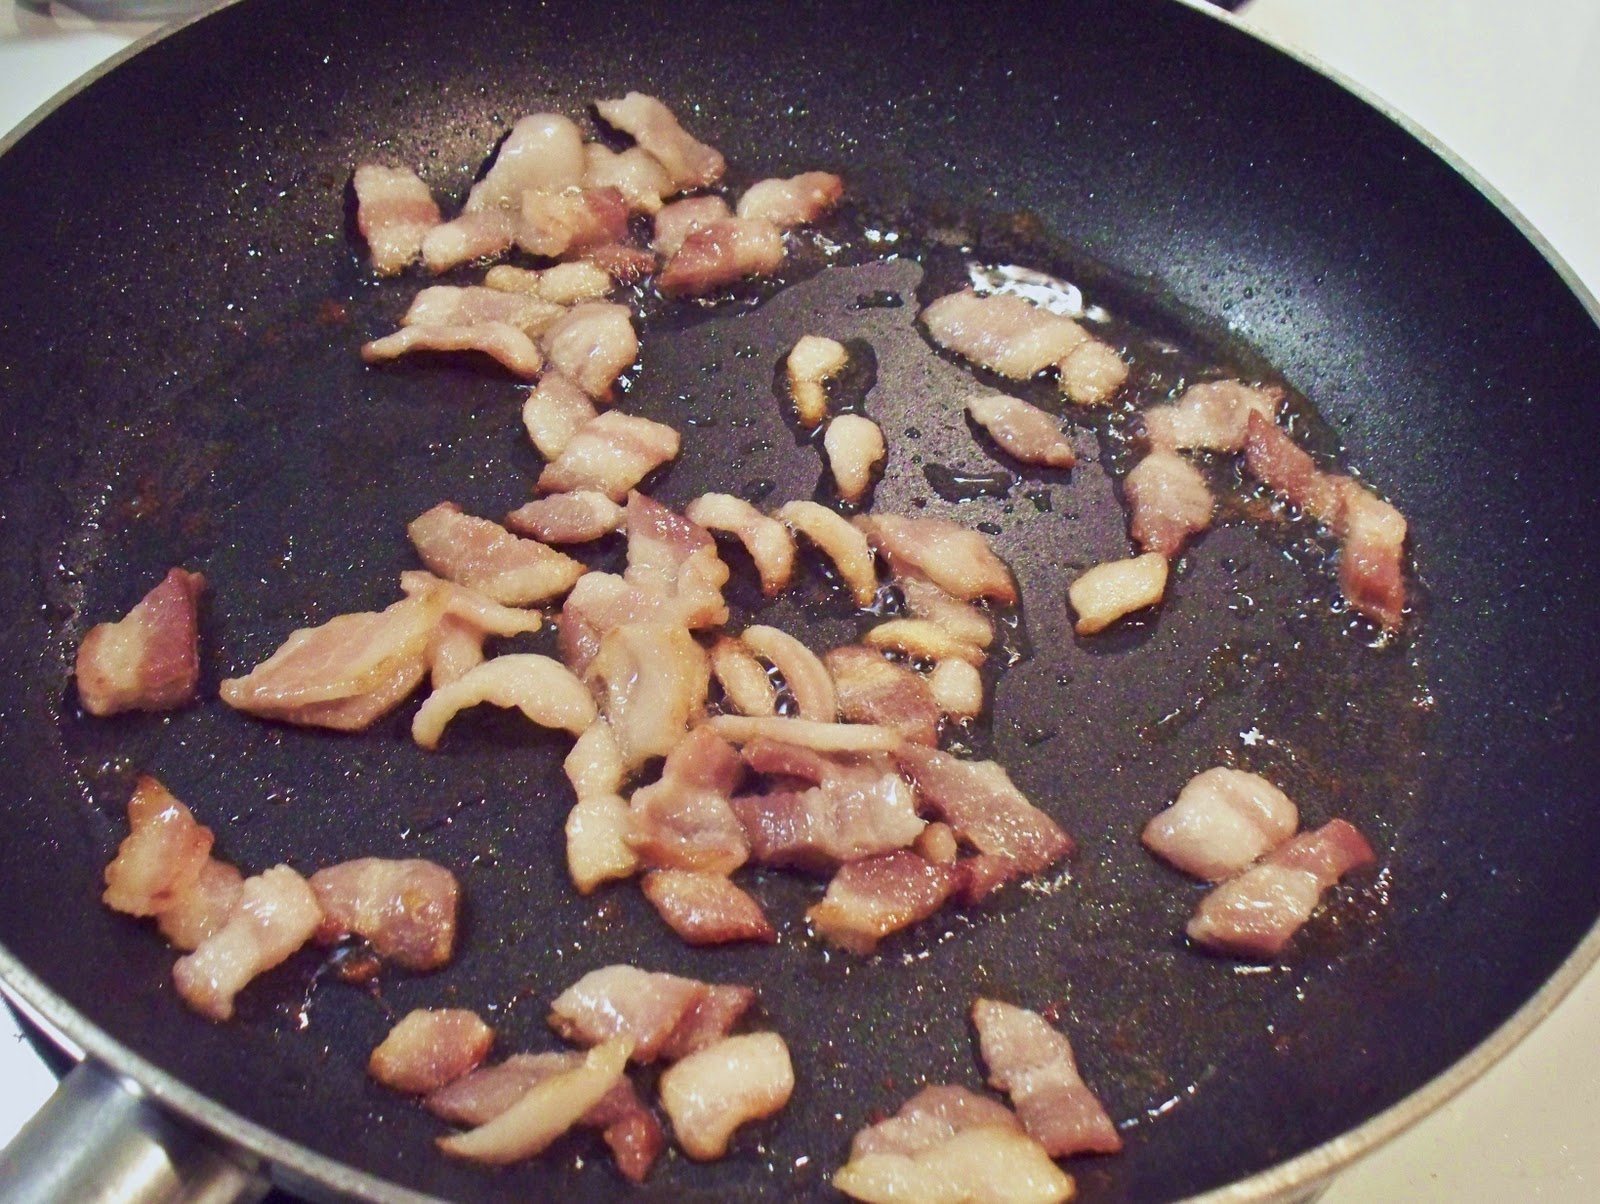
--2 strips of bacon
--1/2 small onion, diced
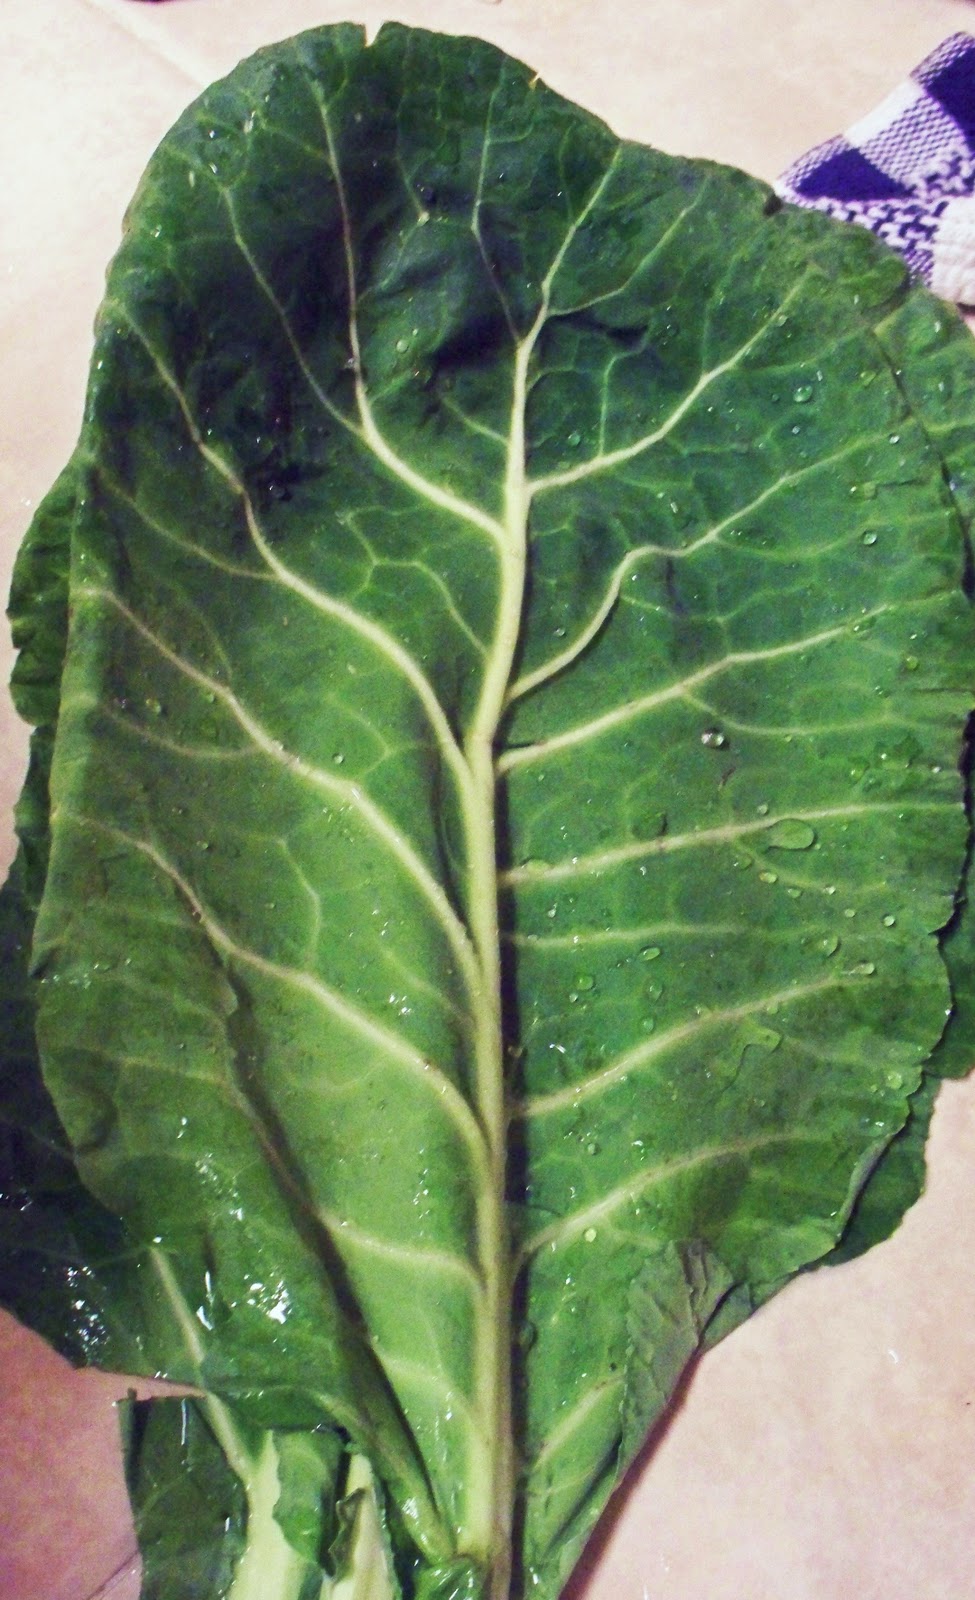
--1 bunch of collards
--black pepper
Using your handy kitchen scissors, cut the bacon strips in half length-wise and then cut into small pieces. Fry up these tiny pieces in a medium skillet over medium heat until crispy but not too done. Scoop them from the pan and drain on a paper towel, making sure to leave about 1 TBSP bacon grease in the pan.
Time: 15 minutes
Serves: 4
Calories: 75 per serving